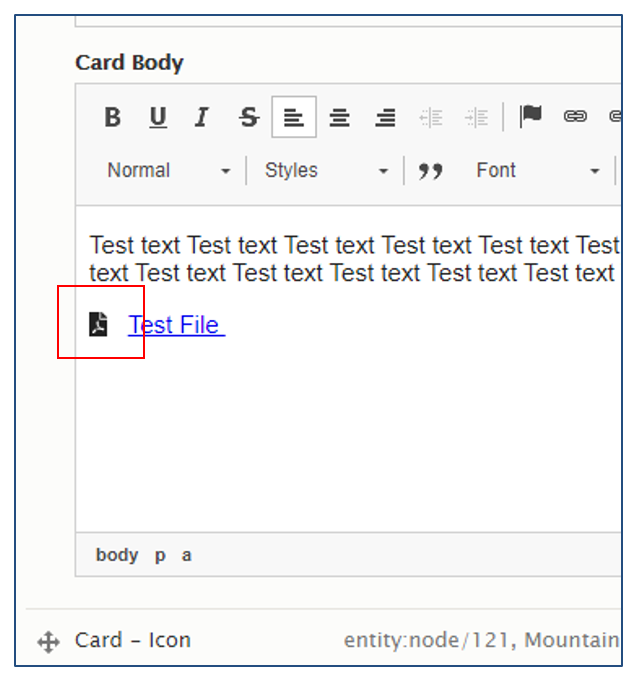
Adding a File Icon
When adding a file, it appears as a link. If you wish to call out the file as a file with an icon, you can do so by using a button with an icon in it.
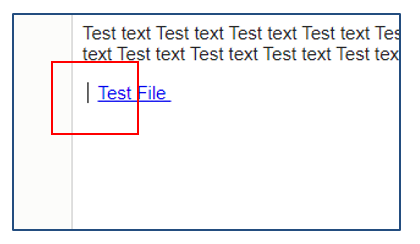
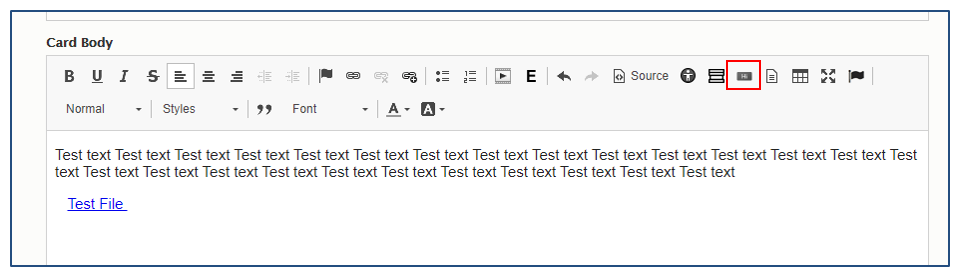
1. Add some space in front of your link text that links to the file
2. While your cursor is in the middle of this space click the button icon
3. A pop up will appear. Change the setting to the following:
-
- Style = Link
- Size = Normal (default)
- Text = Empty
- Url = Empty
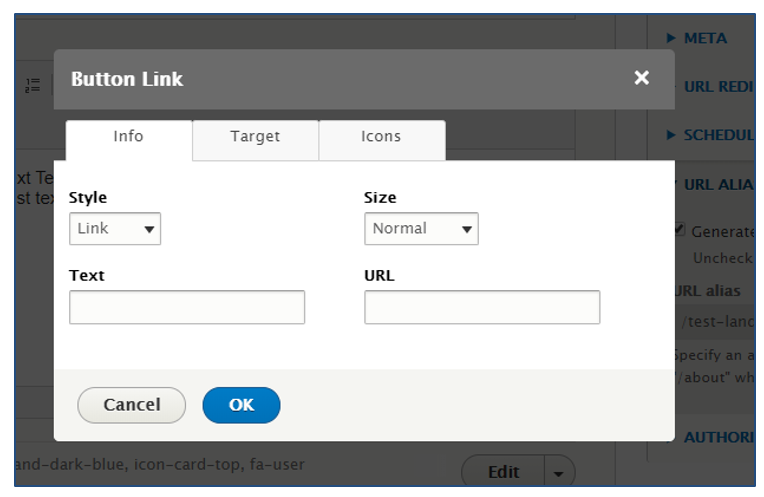
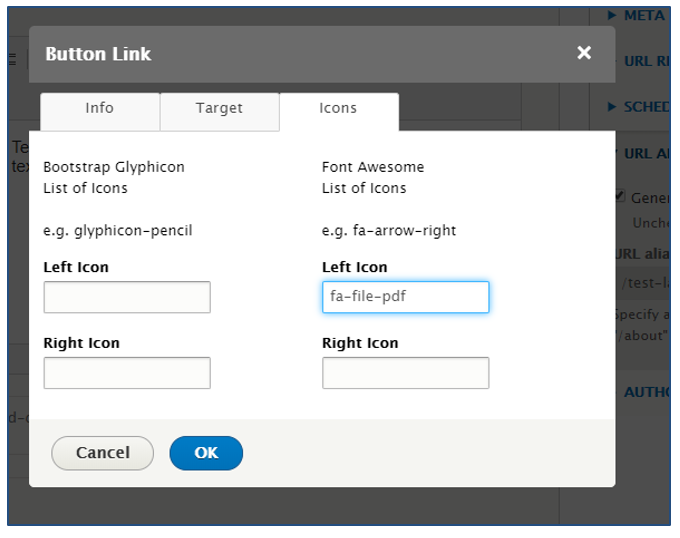
4. Click the icon tab
5. In the top right box labeled Left Icon, add the code for your file type – if you do not know the code for your Font Awesome icon you can click the text “Font Awesome List of icons” and you will be brought to a library of Font Awesome icons – you just have to add a “fa-“ to the front of the code before adding it to the box on your site.
- PDF file: fa-file-pdf
- Word: fa-file-word
- Excel: fa-file-excel
- For a list of other files: https://fontawesome.com/icons?d=gallery&q=file
6. Then click OK to add your changes. For buttons we are currently not able to edit them without creating a new button.
-
- If the file icon is too small, when creating the button use the Large option for the Size rather than the default Normal option.
7. Save the page to have your file link and icon