Webforms can be set up to send submission information to entity employees, allowing a team to receive prompt notifications of submissions. This process also allows for confirmation emails to be sent to the individual who submitted the webform if E-mail was included as one of the form fields.
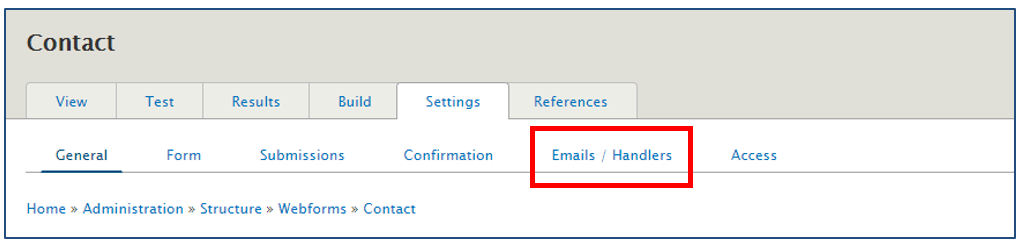
1. Within the Webform tab, select the desired form, and click on Build. Click the Settings tab and then the E-mails/Handlers secondary tab.
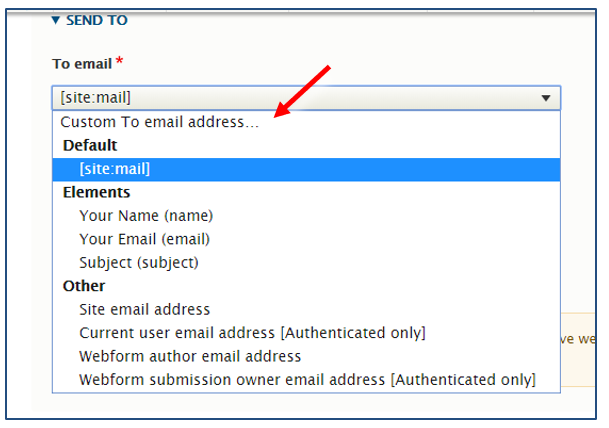
2. Select the Add Email button. Emails are saved emails that can be set to be sent through the webform. Handlers are used to route submitted data to external applications and send notifications and confirmations.
-
- Add Email
- Add a title
- Change the email to section to custom; and add the custom email you want the submissions to be sent to.
- Add Email
3. Make sure these sections include the correct, corresponding selection:
- From email should be set to: [site:mail]
- From name should be set to: [site:name]
- Reply-to email should be set to either: Default OR Your Email (email)
- Subject should be set to: Webform submission from: [webform_submission:source-entity]
- Body should be set to: Default
4. Click Save at the bottom of the page.
5. Repeat this process to send notification emails to multiple entity employees and for various webform uses (such as confirmation emails).