Creating New Users with Email
To provide someone editing access to your website, they must set up a new user account. One way to set up the new user account is by using a non-Google email account. The other way, which we recommend, is setting up the new user account via a Google account.
Follow the instructions below to set up a new website user account using an non-Google account email address.
Step 1: Submit a Security Agreement
All users on the Colorado.gov website platform must have a signed security agreement submitted to our Service Desk. Any users found on the platform to have editing permissions to a website without a security agreement can have their user account disabled or removed.
If you have not already, make sure to follow our tutorial on how to fill out and submit a user security agreement.
Step 2: New User to Create Account via CMS
The first step must be taken by the new user.
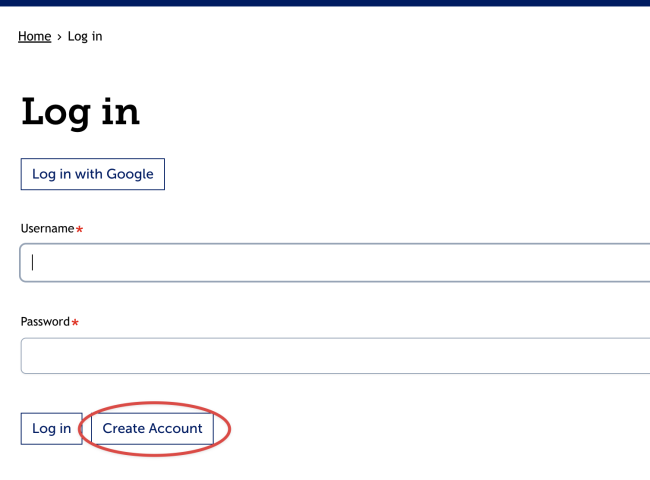
First, go to the login page on your site by adding /user after .gov (e.g., sitename.colorado.gov/user) and click on Create Account.
Step 3: Complete the Create Account Webform
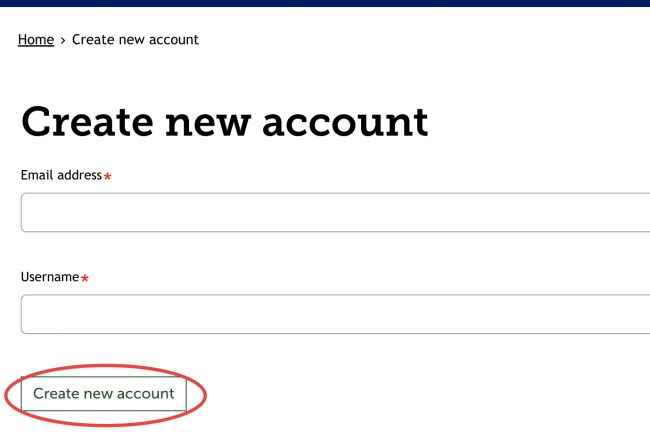
The new user must complete the four fields on the Create Account page and click Create New Account
- Email Address - This must be a working email address and we recommend avoiding group/generic emails
- Username - We recommend using your first name then last name, seperated by a period e.g., firstname.lastname
Step 4: (Website Admin) Find New User in the People Tab
The Entity Project Manager (EPM) for the site will need to be contacted for this step to complete the new user set up.
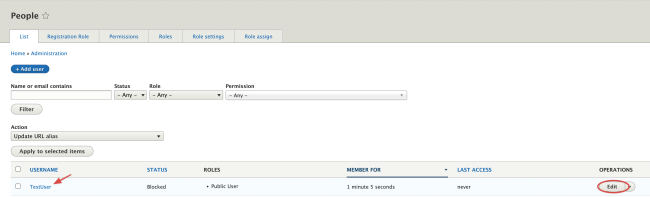
The EPM will visit the People tab, find the New User that needs activation and roles, and select Edit for the new user account.
Step 5: (Website Admin) Activate Account and Assign Roles
Scroll down to the Assignable Roles section. Check the permissions that you want the new user to have. A full description of each assignable role can be found on our User Roles page.
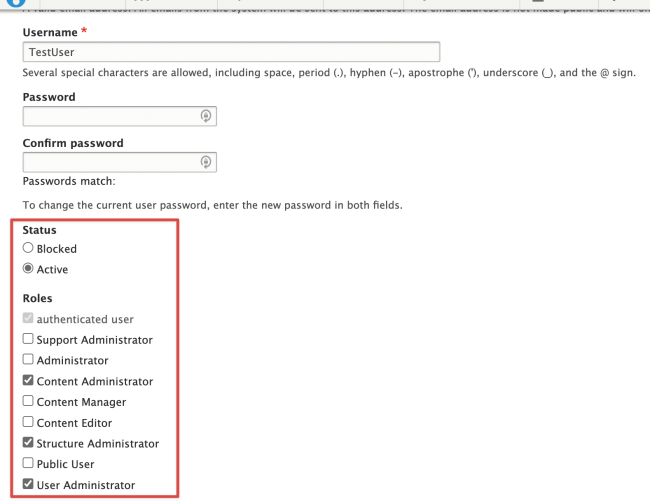
Then click Save.

Step 6: (New User) Log In to Account for the First Time
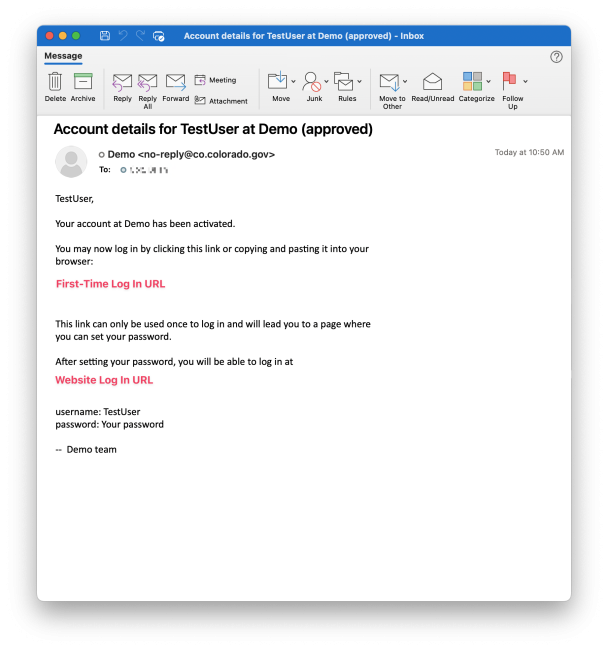
Once the EPM has activated the new user account and assigned roles, the new user will receive an email to log in to the account. Navigate to the page linked in the email to log in for the first time.
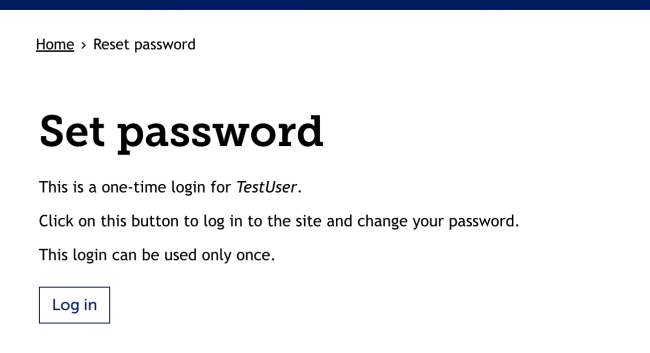
Navigating to the link in the email will take you to a one-time account log in page. Select Log in to be successfully logged into the user account.
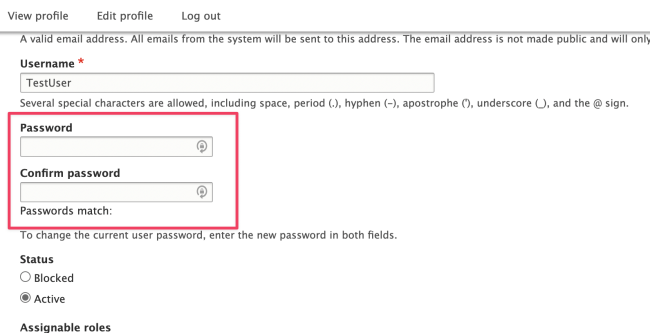
Step 7: (New User) Set Account Password
You will be taken to a page to edit your user account, including fields to set your account password. Fill out the Password and Confirm Password fields with your desired password. We recommend using 12-18 characters with a mix of lower case, upper case, number(s) and special characters (e.g., #, !, @, or $).
Then click Save. After your password has been assigned, you can always log in to your account using your new username and password on your site's log in page (e.g., example.colorado.gov/user).
Other Resources
Check out some of these other resources that may help.
Are you an EPM?
Entity Project Managers can open help tickets with our Service Desk.