Uploading Documents to the Media Library
Before a document can be shared on your website, it must be uploaded somewhere online. If your organization is utilizing a dedicated file management solution such as Google Drive or Dropbox, then you simply need to link to the documents from there onto your webpages. If you plan on utilizing your Colorado.gov website's file management system, then continue with this tutorial.
Note that sharing a document on your Colorado.gov website is a two part process. First, you must create a "media item" for the document. Then, you need to link to the document on your page. Follow the steps below to upload the document to your Media Library to create the media item.
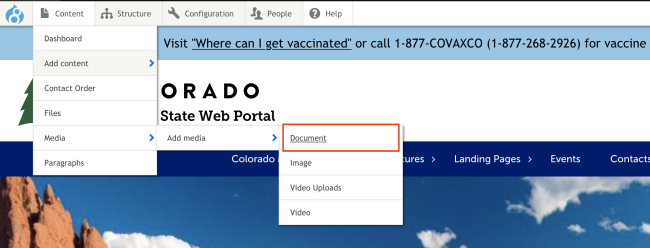
Step 1: Choose to Add New Media
Go to Content > Media > Add Media > Document.
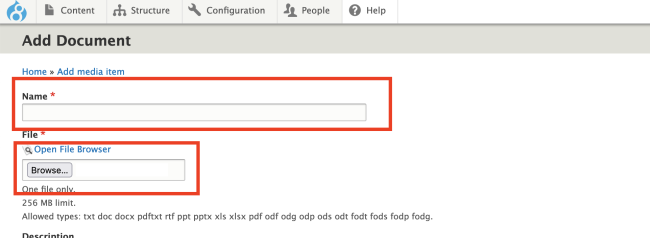
Step 2: Add a Name for the Document
In the Name field, add the name of the document. This is primarily used for locating the file later in your site's Media Library. It is advised to use spaces instead of dashes or underscores since this will making searching for the file later much easier.
Step 3: Upload the File
In the File field, click the Browse button. Locate the document that is on your computer and select to upload it.
Note that the document must be less than 256mb. All common document file types are accepted, including:
- .docx
- .xslx
- .pptx
- .txt
- and many more
Step 4: (Optional) Provide Additional Details for the Media Item
The rest of the fields on this page are optional. You may choose to skip the rest of these fields if you wish. Adding information in any of the following fields will do the following:
- Description (the first field): This adds a label to the link of the file.
- Description (the second field): This adds a readable description for search engines to optimize SEO.
- Related Tags: Custom tags can be created to related files in the Media Library to one another. Multiple tags can be added. This is especially useful if you have a lot of files in your Media Library. Learn more about how tags and relationships work in our Creating Relationships Using Tags tutorial.
- Revision Information: This adds a log revision message to help track changes made to a Media item.
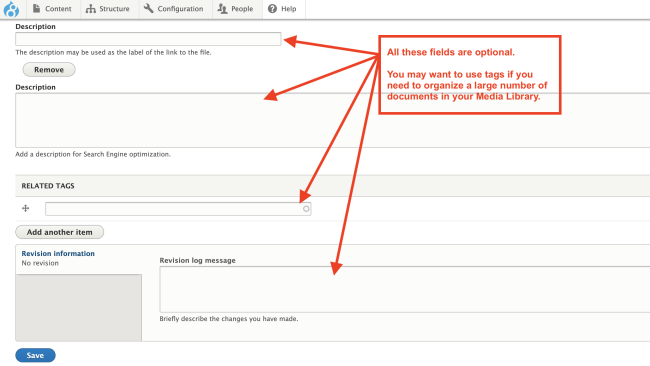
Step 5: Save the Document to the Media Library
Once all the required fields have been completed, click Save.
The document is now added to your Media Library. In order to link to this document on a webpage, make sure to follow the tutorial on Linking to Documents.
Other Resources
Check out some of these other resources that may help.
Are you an EPM?
Entity Project Managers can open help tickets with our Service Desk.