Uploading Videos to the Media Library
Generally speaking, we recommend you upload your videos to a dedicated service like YouTube and Vimeo, then embed or link to the videos on your page. However, there may be certain instances where using the system's Media Library may be more appropriate for your organization.
Before a video can be displayed on your website, it must be uploaded to your Media Library. Once the video is added to the Media Library, it can be displayed on pages and even in the jumbotron.
Follow the instructions below to upload your videos to the Media Library.
Step 1: Choose to Add New Media
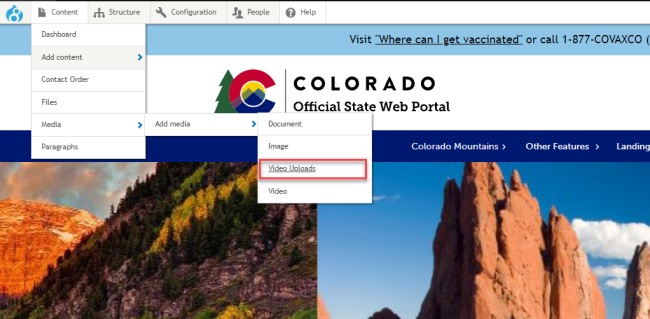
Go to Content > Media > Add Media > Video Uploads.
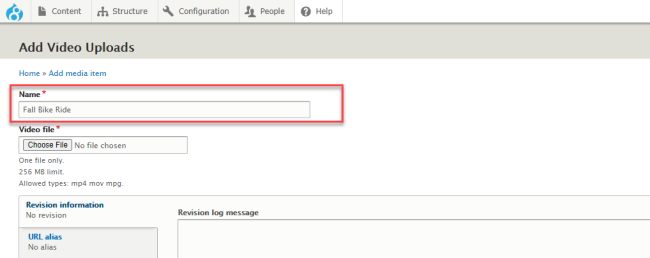
Step 2: Add the Video Name
Add a name for the video. This is for sorting purposes when searching for the video in your Media Library.
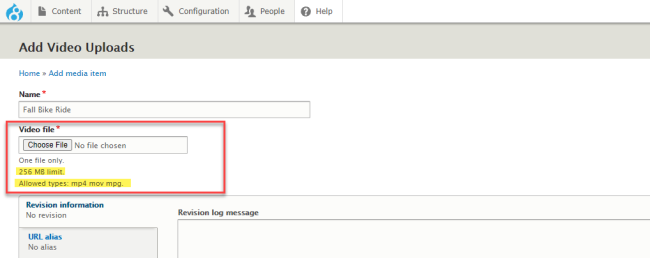
Step 3: Upload the Video File
In the Video File field, click the Choose File button. Locate the video that is on your computer and select to upload it.
The video file must be less than 256mb. The file types that are accepted are:
- .mp4
- .mov
- .mpg
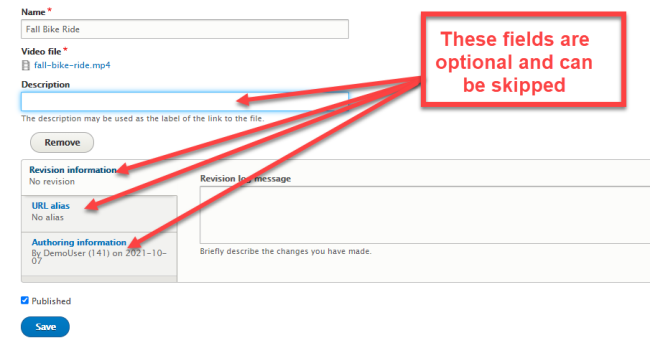
Step 4: (Optional) Provide Additional Details for the Video Media Item
The rest of the fields on this page are optional. You may choose to skip the rest of these fields if you wish. Adding information in any of the following fields will do the following:
- Description: This adds a short description for logged in users viewing the image in the Media Library.
- Revision Information: This adds a log revision message to help track changes made to a Media item.
- URL Alias: Customizes the URL path for the image's media item that gets created once the image is uploaded to the media library. End users do not interact with this. It's recommended to leave this field empty.
- Authoring Information: Manually changes the general information about the media item.
Step 5: Save the Video to the Media Library
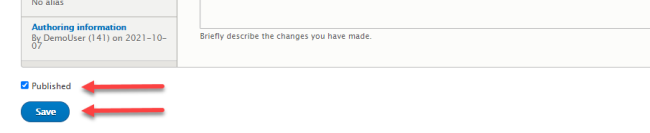
Once all the required fields have been completed, make sure the Published box is checked and click Save.
Once saved, a new media item will be created for the video, which will be added to your site's Media Library. Once you have added the video to your Media Library, it can be displayed on your website through pages and even as a background video in a jumbotron on a landing page.
Other Resources
Check out some of these other resources that may help.
Are you an EPM?
Entity Project Managers can open help tickets with our Service Desk.